Start with one container or a small bed: a zucchini mound and a tomato plant, or a couple of herbs[1]. Expect to manage only what fits your time and energy, then expand[2]. The main condition is a level spot with at least 6 hours of full sun daily and easy water access[3]. Test soil before planting, including lead below 400 ppm[3].
What You'll Need
- A sunny spot with 6+ hours of light
- Most beginner vegetables and herbs need full sun; check the space in summer to avoid planting in shade.
- Basic hand tools
- A trowel, gloves, and a watering can or hose let you prep soil and water new plants without damaging roots.
- Water access within reach
- New gardens need consistent moisture for the first 2–3 weeks, so a spigot or refillable can saves time.
- Soil amendment or container mix
- Portland clay benefits from compost; containers need potting mix so roots have loose, well-drained ground.
- Plant tags or seed packets with timing
- Look for USDA zone 8b and last frost around mid-April to match planting dates to local conditions.
- 15–30 minutes, 2–3 times per week
- Early care is the main task; short regular checks prevent dry soil and catch pest issues before they spread.
How to Start a Home Garden: A Step-by-Step Guide
- Step 1: Start Small
Choose a manageable size for your first garden. Consider starting with a few containers of herbs or a small bed with a couple of plants like zucchini and tomatoes. This approach allows for easier management and helps build confidence as skills develop[1].
- Step 2: Choose the Right Location
Find a spot that receives full sun for at least 6-8 hours a day, which is essential for most vegetables and flowers[4]. Ensure the area is easily accessible for watering and maintenance. Avoid locations near large trees that can compete for sunlight and nutrients[2].
- Step 3: Test and Prepare Your Soil
Conduct a soil test to check nutrient levels, pH, and safety, ensuring lead levels are below 400 ppm[3]. Amend the soil as needed to create a fertile, well-drained environment. This foundational step is crucial for healthy plant growth.
- Step 4: Pick Beginner-Proof Plants and Plan Your Layout
Select easy-to-grow plants like herbs, lettuce, or radishes. Plan your garden layout on paper, grouping plants in odd numbers (like 3 or 5) for visual appeal[5]. This method simplifies planting and maintenance.
- Step 5: Planting Day: Step-by-Step Without Stress
Follow a clear planting guide for each type of plant. Ensure to harden off transplants by gradually exposing them to outdoor conditions before planting[3]. This helps reduce transplant shock and promotes healthy growth.
- Step 6: Watering and Feeding
Implement the 70/30 rule for watering: water deeply around the base of plants but use frequent shallow watering for newly planted seeds[3]. This approach ensures plants receive adequate moisture without overwatering.
- Step 7: Common Beginner Mistakes and How to Avoid Them
Be aware of common pitfalls, such as overwatering or planting too closely together. Research and learn from others' experiences to improve your gardening skills. Keeping a journal can help track successes and challenges.
- Step 8: Seasonal Maintenance: A Simple Month-by-Month Checklist
Create a monthly checklist for tasks like weeding, fertilizing, and harvesting. This helps maintain organization and ensures that plants receive necessary care throughout the growing season.
- Step 9: Troubleshooting: Pests, Diseases, and Weeds Without Chemicals
Learn to identify common pests and diseases. Use natural remedies and preventive measures to manage issues without chemicals, promoting a healthier garden environment.
Start Small: Define Your First Garden Size and Type
Starting with a manageable garden size is crucial for beginners. A 4x4 ft raised bed or 3-5 containers is ideal. This size allows for easy maintenance and helps build confidence without overwhelming new gardeners.
In-ground gardening, raised beds, and container gardening all have unique benefits. In-ground gardens can provide a larger space but require more effort to prepare and maintain. Raised beds offer better drainage and soil control, while containers provide flexibility in location and can be moved as needed.
The 70/30 rule is a helpful guideline for planting. This rule suggests using 70% native soil and 30% compost to create a balanced environment for plants[6]. The composition is measured by area covered, not the number of plants[7]. Additionally, the '3, 5, 7' rule encourages planting in odd-numbered groups, which enhances visual appeal and plant health[5].
For example, a 4x4 ft garden bed can accommodate 4-6 vegetable plants, depending on their size and spacing requirements. This size allows for a variety of easy-to-grow vegetables, such as tomatoes, zucchini, or peppers.
Choosing the right location is essential. A sunny spot that receives at least 6 hours of sunlight daily is ideal for most vegetables[4]. Ensure the area is easily accessible for watering and maintenance. Testing the soil for nutrients and safety, such as lead levels below 400 ppm, is also recommended[3]. Starting small enables gardeners to manage their time and energy effectively while gradually expanding as skills develop[2].
Choose the Right Location: Sun, Water, and Access
A successful garden starts with the right location. Most vegetables and flowers thrive with at least 6–8 hours of direct sunlight daily. This is crucial for their growth and productivity; without sufficient light, plants may become leggy or produce fewer fruits and flowers[4]. Observing sun patterns over 2–3 days can help identify the sunniest areas in the yard, ensuring the chosen spot meets this requirement.
Proximity to a water source is equally important. The 'back door test' suggests that the closer the garden is to the door, the more likely it will be maintained. Having easy access to water encourages regular attention, which is vital, especially in the early stages when plants need consistent moisture[3].
Wind exposure should also be considered. Strong winds can damage young plants, so it may be beneficial to choose a sheltered area or use windbreaks like fences or shrubs. Additionally, ensure the chosen spot has good drainage. Waterlogged soil can lead to root rot and other issues, hindering plant growth. Aim for level ground where water can drain away easily[2].
If the ideal sunny spot is not available, consider planting in containers that can be moved to capture the sun throughout the day. This flexibility can help maximize light exposure while accommodating various environments. By carefully evaluating these factors, beginners can set a solid foundation for a flourishing garden.
Test and Prepare Your Soil Without Overcomplicating It
Testing and preparing soil is essential for a thriving garden. Start with the jar test to determine soil texture. Fill a jar with soil, add water, and shake it well. Allow it to settle for a few hours. The soil will separate into layers: sand settles at the bottom, silt in the middle, and clay at the top. This simple method helps in understanding the composition of your soil.
For moisture testing, use the squeeze test. Take a handful of moist soil and squeeze it tightly. If it forms a ball but crumbles when poked, it has the right moisture level. If it falls apart easily, it may need more water.
Basic pH testing can be done with an affordable soil test kit. Most vegetables prefer a pH between 6.0 and 7.0. If the soil is too acidic or alkaline, amendments can help adjust the pH level.
Amending soil with compost is straightforward. Incorporate 2-3 inches of compost into the top 6-8 inches of soil. This improves soil structure and fertility, providing essential nutrients for plants. For in-ground beds, removing the top 8-10 inches of soil can also be beneficial, especially if the existing soil is compacted or poor.
Avoid tilling too deep, as this can disrupt soil structure and harm beneficial organisms. Over-fertilizing is another common mistake; it can lead to nutrient imbalances and harm plant growth. Always follow recommended guidelines for fertilizers to keep your garden healthy.
By understanding these testing methods and preparation techniques, gardeners can create a solid foundation for their plants, ensuring better growth and productivity.
Pick Beginner-Proof Plants and Plan Your Layout
Choosing the right plants is key for new gardeners. Some of the easiest vegetables and flowers to grow include lettuce, radishes, bush beans, cherry tomatoes, zucchini, marigolds, basil, and chives. These plants are forgiving and typically thrive with minimal care, making them perfect for beginners.
Understanding planting zones and frost dates is also crucial. Portland falls within USDA zone 8b, meaning the last frost typically occurs around mid-April. This timing influences when to plant seeds or transplants. For instance, root crops like radishes can be directly sown in the ground, while tender plants like tomatoes and peppers should be started indoors and transplanted after the frost danger has passed.
A simple grid layout for a 4x4 raised bed can help maximize space. For example, placing tomato plants 2 feet apart allows for proper air circulation, while bush beans can be spaced 1 foot apart. Using odd-numbered groupings, such as 3 or 5 plants, can create a visually appealing arrangement[5].
Companion planting can enhance growth and deter pests. Pairing tomatoes with basil not only improves flavor but also helps repel harmful insects. Similarly, planting carrots alongside onions can lead to healthier crops, as they naturally deter each other's pests.
Finally, the decision between seeds and seedlings is important. For root crops, direct sowing is often best, while transplants are recommended for more delicate plants like tomatoes and peppers. This approach helps ensure successful growth and minimizes the risk of transplant shock[3]. By following these guidelines, new gardeners can create a thriving garden that brings joy and fresh produce.
Planting Day: Step-by-Step Without Stress
Planting day can be exciting yet stressful. Following a clear sequence can make the process smoother. Start by watering the soil thoroughly before planting. This prepares the ground and helps reduce transplant shock for seedlings.
Next, dig holes that are approximately twice the diameter of the seeds or seedlings being planted. This depth allows roots to establish properly in the soil. When planting, refer to the spacing guidelines on the seed packet. Proper spacing is crucial for ensuring that plants have enough room to grow without competing for nutrients.
After placing the seeds or seedlings in their holes, gently firm the soil around them. This helps eliminate air pockets and provides stability. Water the plants immediately after planting to help them settle in.
For those planting in spring or fall, a simple calendar can guide the process. For spring, consider starting seeds indoors by mid-March and transplanting them outdoors after the last frost, around mid-April. In fall, sow cover crops in early September, allowing them to grow before winter sets in.
Hardening off seedlings is another important step. This process takes 7-10 days and involves gradually exposing seedlings to outdoor conditions. Start by placing them outside in a sheltered spot for a few hours each day, gradually increasing their exposure to sunlight and wind. This acclimatization helps prevent shock when they are finally planted in the garden[3].
By following these steps, the planting process can be enjoyable and stress-free, setting the stage for a thriving home garden.
Watering and Feeding: The 70/30 Rule and Beyond
The 70/30 rule in gardening emphasizes that 70% of a plant's success stems from proper soil preparation, while 30% comes from ongoing care like watering and feeding. This balance highlights the significance of starting with a solid foundation, which is crucial for beginners.
Deep watering is preferable over frequent shallow watering. Deep watering encourages roots to grow deeper into the soil, enhancing their resilience to drought. For mature plants, a good rule of thumb is to water deeply once a week, allowing the soil to dry out slightly between sessions. For newly planted seeds, shallow watering multiple times a week is beneficial until they establish roots[3]. A simple finger test can help determine when to water: if the top inch of soil feels dry, it’s time to water.
A sample weekly watering schedule might look like this:
- Monday: Deep watering for mature plants.
- Wednesday: Shallow watering for newly planted seeds.
- Saturday: Check soil moisture and water as needed.
Fertilizing is another crucial aspect. Compost tea is an excellent organic option, providing a nutrient boost without the risk of over-fertilization. For balanced nutrition, a 10-10-10 fertilizer can be applied every 6-8 weeks during the growing season. Slow-release granules offer convenience, as they gradually feed plants over time. When fertilizing, always follow the package instructions to avoid nutrient burn, which can damage plants.
By adhering to these watering and feeding principles, gardeners can foster healthy, productive plants while minimizing common issues associated with improper care.
Common Beginner Mistakes and How to Avoid Them
Many new gardeners encounter common pitfalls that can hinder their success. Addressing these mistakes early on can lead to a more enjoyable gardening experience. Here’s a breakdown of frequent errors and their solutions.
| Mistake | Fix |
|---|---|
| Overwatering | Water deeply but less frequently. For mature plants, aim for once a week. |
| Planting too early | Wait until after the last frost date, typically mid-April in Portland. |
| Overcrowding | Follow spacing recommendations on seed packets. This ensures ample room for growth. |
| Ignoring sunlight | Choose a site with at least 6-8 hours of sunlight daily for optimal plant health. |
| Not thinning seedlings | Thin seedlings to prevent competition. Aim to leave the healthiest plants spaced properly. |
| Forgetting to label | Use plant markers to keep track of what is planted where, preventing confusion later. |
| Using garden soil in containers | Opt for a quality potting mix designed for containers to ensure proper drainage. |
| Planting too much | Start small, focusing on a few plants that the family will eat, then expand as skills grow. |
| Not checking for pests | Regularly inspect plants for signs of pests. Early detection is key to management. |
| Skipping mulch | Apply a 2-3 inch layer of organic mulch to retain moisture and suppress weeds. |
Each of these adjustments can significantly enhance the gardening experience. For instance, overwatering is a common issue that can lead to root rot. By watering deeply but less frequently, roots are encouraged to grow stronger and deeper into the soil[3]. Similarly, planting too early can expose delicate plants to frost damage, so it’s crucial to understand local frost dates[1].
Starting small and gradually expanding allows for manageable growth and learning[2]. Using proper soil for containers ensures that plants receive adequate nutrients and drainage, which is vital for their health.
By being aware of these mistakes and implementing the suggested fixes, beginner gardeners can cultivate a thriving home garden with confidence.
Seasonal Maintenance: A Simple Month-by-Month Checklist
Maintaining a home garden throughout the year involves specific tasks tailored to the changing seasons. Here’s a month-by-month checklist to keep your garden thriving.
January - February
- Plan your garden: Sketch out your garden layout and decide what to plant.
- Soil testing: Test soil for nutrient levels and pH to prepare for spring planting[3].
March
- Start seeds indoors: Begin sowing seeds for vegetables like tomatoes and peppers indoors.
- Prepare garden beds: Clear debris from last season and amend soil with compost.
April
- Transplant seedlings: Harden off seedlings before transplanting them outdoors after the last frost[3].
- Direct sow: Plant cool-season crops like lettuce and radishes directly in the garden.
May
- Mulching: Apply a 2-3 inch layer of organic mulch around plants to retain moisture and suppress weeds.
- Watering: Ensure consistent watering as temperatures begin to rise.
June
- Pruning: Trim any overgrown plants to promote air circulation and growth.
- Crop rotation: Plan for crop rotation to prevent soil depletion and pest buildup.
July
- Deadheading: Remove spent flowers from annuals to encourage continuous blooming.
- Pest management: Monitor for pests and diseases; take action as needed.
August
- Harvesting: Begin harvesting summer crops like zucchini and tomatoes.
- Soil amendment: Consider adding compost to replenish nutrients for fall planting.
September
- Plant fall crops: Sow late-season crops like kale and spinach.
- Clean up: Remove any spent plants to reduce disease risk.
October
- Mulch again: Add mulch to protect roots as temperatures drop.
- Soil testing: Conduct another soil test to prepare for winter amendments[3].
November - December
- Cover crops: Consider planting cover crops to improve soil health over winter.
- Tool maintenance: Clean and store gardening tools properly to extend their life.
This checklist can be printed or downloaded for easy reference throughout the year, ensuring that each task is completed on time. By following these seasonal guidelines, gardeners can enhance their gardening experience and yield a bountiful harvest.
Troubleshooting: Pests, Diseases, and Weeds Without Chemicals
Pests and diseases can pose challenges for home gardeners. Understanding common pests and how to manage them organically is essential for a healthy garden.
Common Pests and Organic Solutions
Aphids are small, soft-bodied insects that suck plant sap, causing leaves to curl. A solution is to spray them with neem oil, which disrupts their lifecycle.
Slugs can decimate young plants overnight. Hand-picking them in the early morning or evening can effectively reduce their numbers.
Cabbage worms target brassicas like cabbage and broccoli. A mixture of diatomaceous earth around affected plants can deter these pests.
Tomato hornworms are large caterpillars that can quickly strip tomato plants. Hand-picking is often the most effective way to manage them.
Squash bugs can harm squash and pumpkin plants. Planting companion plants, such as marigolds, can help repel them naturally.
Beneficial Insects vs. Pests
Beneficial insects, like ladybugs and lacewings, help control pest populations by feeding on them. While pests can harm plants, beneficial insects contribute to a balanced garden ecosystem. Encouraging these allies through diverse planting can improve pest management.
Weed Prevention
Weeds compete with plants for nutrients and water. Using mulch can suppress weed growth while retaining soil moisture. A layer of 2-3 inches is recommended for optimal effectiveness. Alternatively, landscape fabric can be laid down before planting to block weeds while allowing water and nutrients to penetrate.
When to Call for Help
Recognizing when to seek assistance can save time and effort. If pest damage exceeds 20% of plant foliage, or if a disease spreads rapidly, it's time to consult a local extension service or gardening expert. A simple decision tree can guide this process:
Are pests visible?
- Yes: Identify and treat them.
- No: Check for signs of disease.
Is the plant wilting or discolored?
- Yes: Assess for diseases or root issues.
- No: Continue monitoring.
Are symptoms spreading?
- Yes: Seek professional help.
- No: Continue with organic management practices.
By addressing these concerns early on, gardeners can maintain a flourishing garden without relying on chemicals.
Что делать, если не получилось
Seeds did not germinate
Seeds stay dormant when the soil is too cold, too dry, or planted too deep. Check the seed packet for the correct depth and temperature range; many common vegetables need soil above 50°F to sprout. If the soil is dry, water lightly every day for small seeds. A simple test for old seed: place 10 seeds on a damp paper towel, fold it, and keep it in a warm spot for a week; if fewer than 7 sprout, replace the packet[3].
Seedlings grew tall, thin, and floppy
This is light starvation. Seedlings reaching for a distant window stretch their stems and fall over. Move them to a south-facing window or place a grow light 2–4 inches above the leaves for 14–16 hours a day. Cut back any tall, weak stems to force stronger side growth.
Plants wilt even when the soil is wet
Wet soil plus wilting usually means the roots cannot breathe. Overwatering or a container without drainage holes suffocates roots and invites rot. Stop watering, check that the pot has at least one hole at the bottom, and let the top inch of soil dry before watering again. For in-ground beds, dig a small test hole after watering; water should drain within a few hours, not pool overnight.
Garden produced few or no vegetables
A lush green plant with no fruit often points to missing pollinators or too much nitrogen. Beans and tomatoes need bees or wind to move pollen; on still days, gently shake the flower stems at midday. If leaves are dark and fast-growing but fruit is scarce, skip nitrogen-heavy fertilizer and add compost or a 10-10-10 blend at the label rate every 6–8 weeks[3]. Plant at least two of the same crop near each other to improve pollination.
You feel overwhelmed and want to quit
A garden that becomes a daily burden is often too large for one beginner. Cut the planted area in half, return one bed to mulch, and keep only three to five plants that your household already eats. Use a simple weekly routine: 15 minutes on three set days for watering, weeding, and checking leaves. The goal is a garden that fits into your life, not one that demands a second job.
Before you go
- What is the 70/30 rule in gardening?
The 70/30 rule divides planting into 70 percent structural plants and 30 percent seasonal or highlight plants[8]. Structural plants offer visual interest through autumn, while filler plants contribute seasonal color until mid-summer[6]. Measure the split by the area covered, not by the number of plants[7].
- What is the most common mistake of first time gardeners?
A common first-time mistake is starting too large. Oklahoma State University Extension advises beginning with a container or two of herbs, or a small bed with a zucchini mound and a tomato plant, and growing only what the family will eat[1]. NC State Extension also recommends starting small and planting only the space you can manage joyfully, then expanding as skills and interests grow[2].
- What is the "3, 5, 7" rule in landscaping?
The "3, 5, 7" rule means planting in odd-numbered groups, such as 3 plants, 5 plants, or 7 plants[5]. Broader odd-number groupings or natural-looking masses matter more than strictly using groups of three[9]. Plantings above 10 plants become more of a drift planting[9].
- What is the first thing you put in a garden?
Put a garden plan on paper before adding soil, plants, or seeds. University of Delaware Extension recommends putting the garden plan on paper first and recording any planting changes[10]. Then choose a level full-sun site and test the soil before planting[3].
Выводы
- Начните с малого: одна грядка или два контейнера с травами дадут больше опыта, чем большой участок, который быстро станет обузой[1].
- Проверьте солнце и почву до посадки: большинству овощей нужно 6–8 часов прямого света и дренаж без застоя воды[3].
- Поливайте глубоко, но реже: корни уходят вниз и становятся крепче, а риск гнили снижается[3].
- Следите за листьями раз в неделю: 15 минут на осмотр помогают заметить тлю или пожелтение до того, как проблема разрастется.
- Держите план на бумаге: записывайте, что и где посажено, и вносите изменения по ходу сезона[10].
Если первые всходы не появились или рассада вытянулась, вернитесь к разделу «Что делать, если не получилось» и проверьте глубину посадки, температуру почвы и расстояние до света. Когда база будет работать, посмотрите Home Gardening Ideas for Every Season, чтобы спланировать посадки на следующие месяцы.
Evidence and sources
- Tips and tricks for beginning gardeners | Oklahoma State University
- Vegetable Gardening: A Beginner's Guide | NC State Extension Publications
- How to Start a Vegetable Garden
- Things First-Time Gardeners Need to Know
- Learn How to Use The "Rules of Three" in Your Garden | HGTV
- The 70/30 Rule for Beautiful Gardens That Experts Swear By
- The 70-30 Rule for Better Garden Borders | Garden UK
- What Is the 70/30 Planting Rule? | Sculpt Landscapes
- When to Use the Rule of Threes in Garden Design (and When to Avoid It)
- Vegetable Garden Basics | Cooperative Extension | University of Delaware
Worth a look
Finding Official Onion Addresses for Trusted Services
How to find and verify official onion addresses for trusted services, plus what to know about four notable projects before using them.
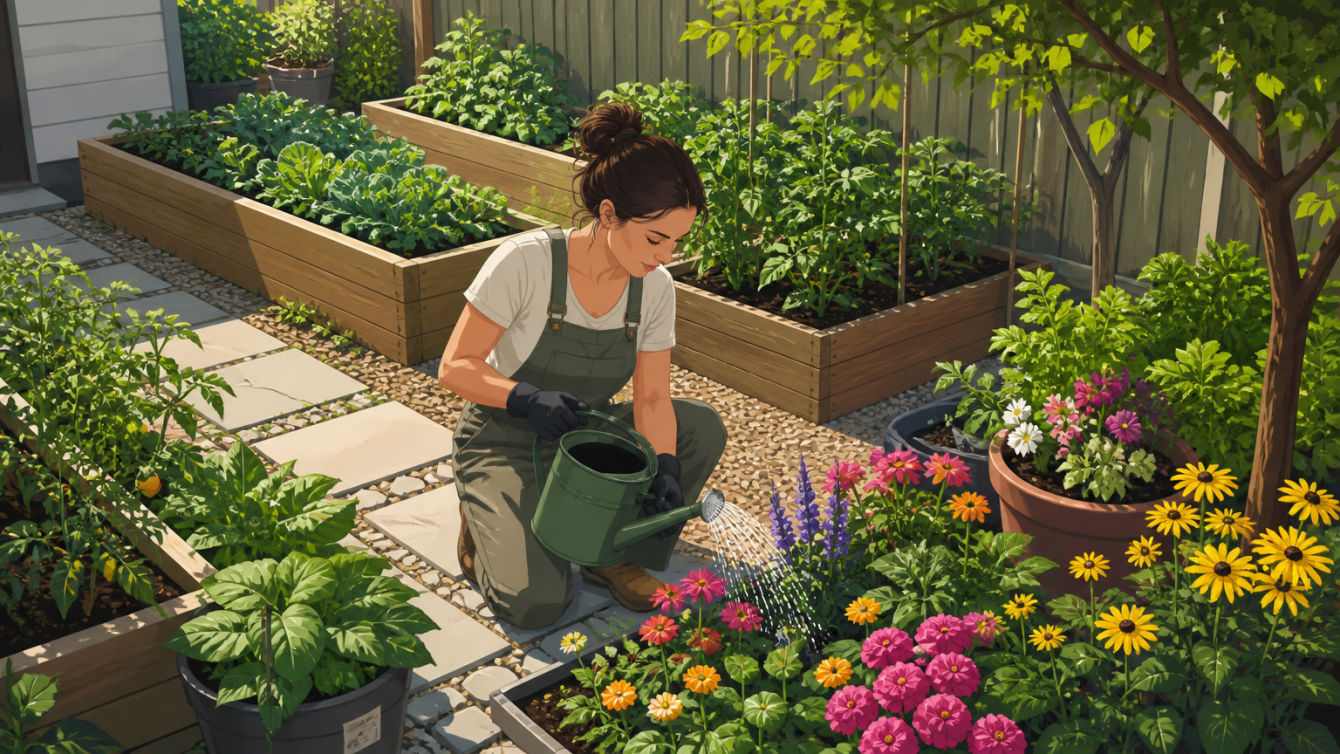
Home Gardening Ideas for Every Season
Discover practical home gardening ideas for every season to enhance your small garden and grow healthy plants with ease.
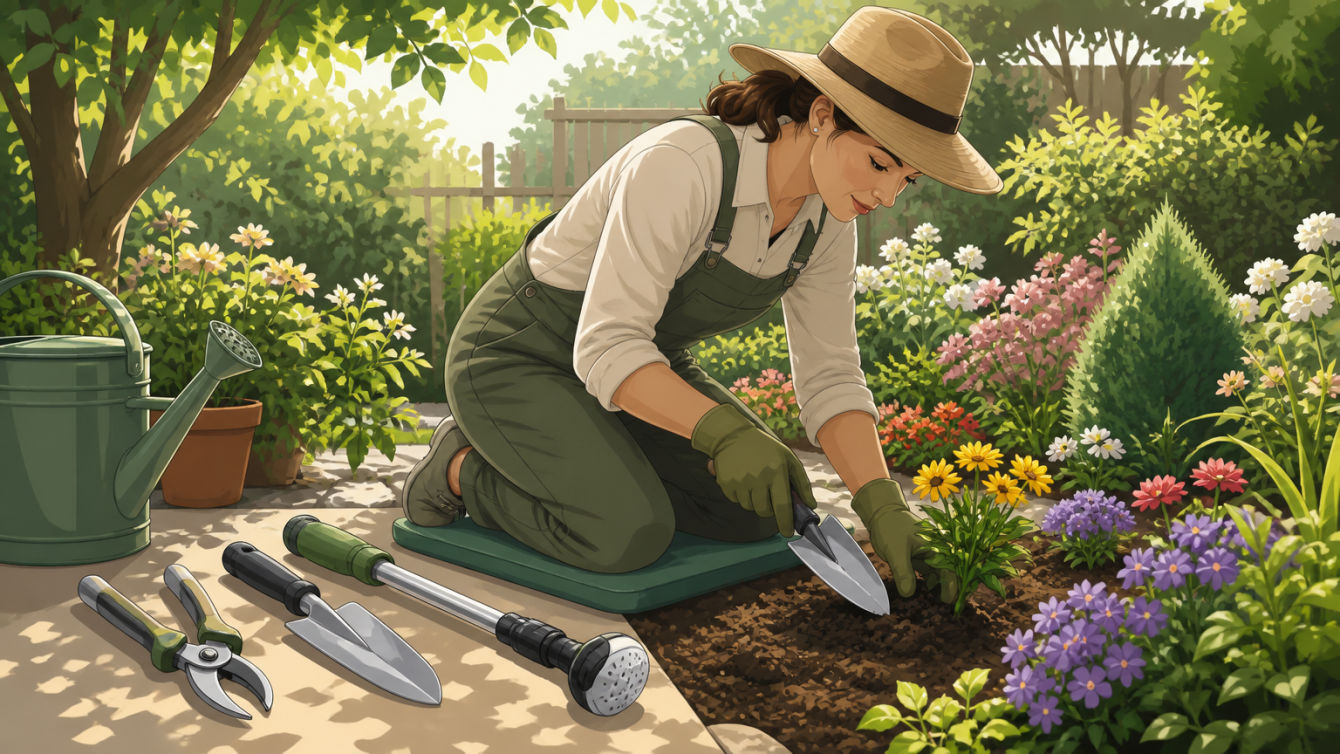
Best Gardening Tools for Home Use
Discover the best gardening tools for home use. Find reliable, ergonomic options that make yard and garden maintenance easy for beginners.

Protecting Yourself from ATM Skimming: Personal Insights
A Florida man paid $480 for cloned cards and Monero. The ATM camera, bank logs, and KYC exchange records ended his run in 15 days.